
September 22, 2026
Paver Color Restoration in Florida: What to Know Before Color Tinting
A homeowner guide to evaluating faded pavers, existing sealer, stains, repairs, color expectations, and preparation before considering paver color tinting in Florida.
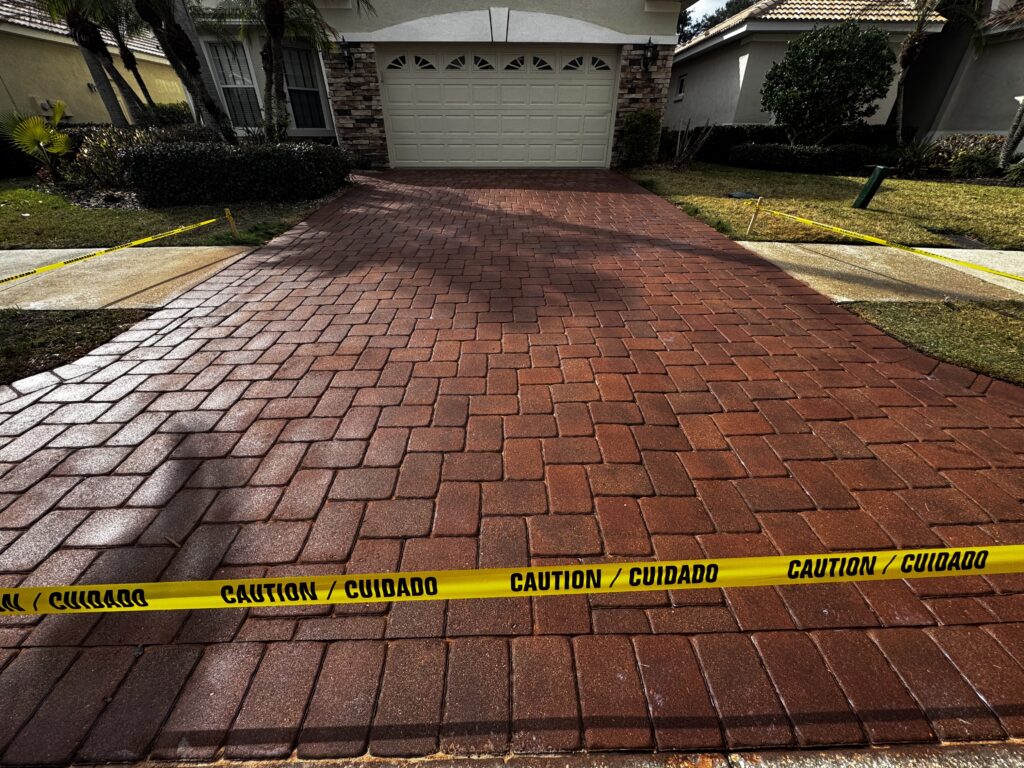
Florida pavers can lose visual depth over time as sun, traffic, irrigation, stains, and uneven surface wear change their appearance. Homeowners sometimes consider color tinting or color enhancement when ordinary cleaning does not restore a consistent look.
Color work should begin with an inspection, not a color choice. Fading can be mixed with old sealer, mineral deposits, organic growth, repairs, or permanently altered pavers. Those conditions affect preparation and the result that may be possible.
What is paver color tinting?
Paver color tinting is a corrective appearance process intended to add or adjust color on suitable paver surfaces. It is different from simply applying a clear sealer. A clear product may deepen some existing tones, but it does not automatically correct uneven fading or mismatched areas.
The exact process depends on the paver material, current condition, remaining coatings, and desired appearance. A professional should first determine whether the surface is an appropriate candidate and whether another problem must be corrected before color is introduced.
Why pavers fade unevenly in Florida
Different parts of a driveway or patio rarely receive identical exposure. Full-sun sections may age differently from shaded areas. Tire paths, turning zones, walkways, pool edges, and drainage paths experience different wear. Sprinkler overspray can leave deposits near one border while another stays relatively dry.
Previous cleaning methods and older sealer applications can also create visual differences. If one section still holds coating while another is bare, the same color treatment may not absorb or appear uniformly across the whole area.
Cleaning should come before a color decision
Dirt, mildew, leaf staining, irrigation residue, and other buildup can make pavers appear more faded than they are. A proper cleaning and inspection can reveal the actual condition and show whether the color loss is uniform or limited to specific areas.
Homeowners should avoid judging the final need for tinting from a dirty surface alone. At the same time, aggressive pressure or unsuitable chemicals can affect paver faces, edges, joints, and existing coatings. Preparation should match the material and the type of contamination present.
Existing sealer must be evaluated
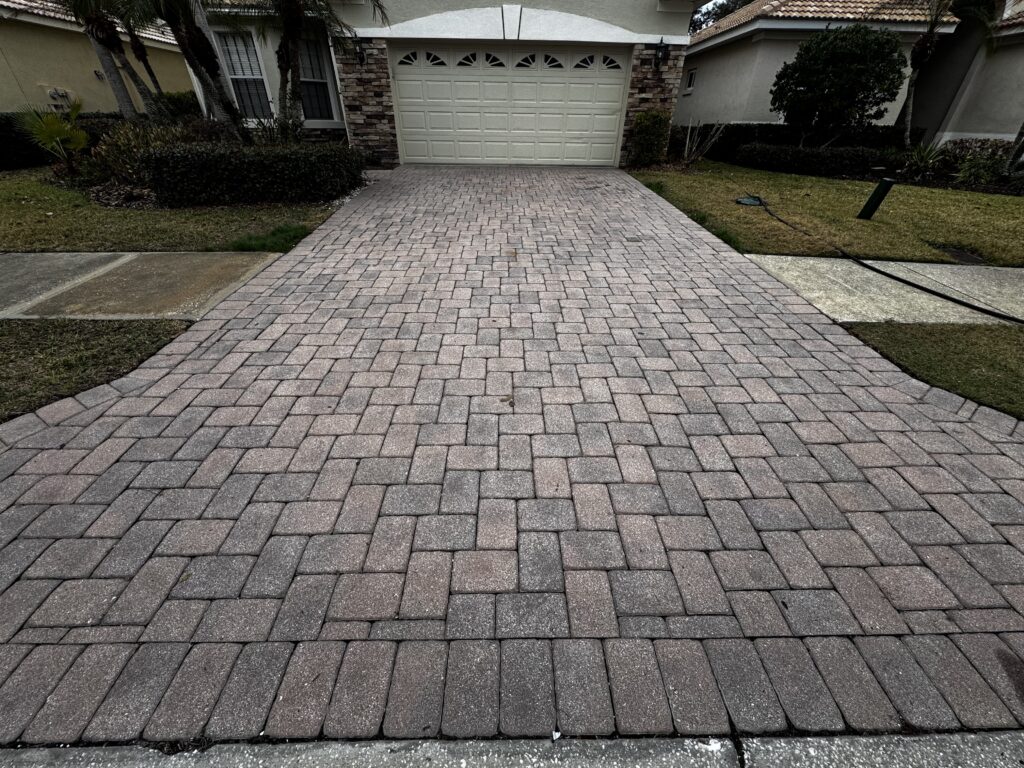
Color tinting should not be planned as though every paver is bare. An old sealer may remain in patches, joints, low areas, or protected sections even when the overall surface looks dull.
If the coating is peeling, cloudy, sticky, heavily built up, or incompatible with the planned system, it may interfere with preparation and color consistency. Covering a failed layer can leave the new work dependent on material that is already unstable.
Stains and fading are not the same problem
Rust, fertilizer marks, tire residue, leaf tannins, oil, irrigation deposits, and organic growth can alter color in localized areas. Tinting should not be used to hide an active stain source without first identifying it.
Some discoloration may improve with suitable cleaning, while other marks may remain visible or react differently than the surrounding pavers. A test area helps separate true fading from contamination and shows how the surface responds after preparation.
Repairs and replacement pavers may look different
Newer replacement pavers often have a different age, texture, porosity, or manufacturing batch from the original installation. Repaired areas may also have fresh joint sand, mortar, or altered edges.
Color correction may reduce some visual contrast, but it should not be presented as a guarantee that all replacement pavers will become invisible. Differences in material and surface history can remain after treatment, especially under changing light or when the pavers are wet.
Choose a realistic color direction
The most reliable goal is usually to work with the existing paver palette instead of trying to make the surface resemble a completely different material. The base color, aggregate, texture, and previous treatments still influence the final appearance.
Discuss whether the goal is to restore warmth, reduce a washed-out look, improve consistency, or adjust a specific tone. Photos can communicate preference, but another property’s image should not be treated as an exact result for a different surface.
Why a test area matters
A small test area can show how prepared pavers accept color, whether the tone is appropriate, and how the surface changes after the planned finishing step. It can also reveal differences between shaded, worn, repaired, and coated areas.
The test should be placed where it represents the actual condition being treated. One small area cannot predict every variation across a large driveway, but it provides better information than choosing only from a color sample or screen image.
Joint sand and edges affect the finished look
Low or washed-out joints create shadows and irregular lines that can make color appear uneven. Cleaning and preparation may also disturb loose sand. Joint condition should be evaluated as part of the project rather than after the appearance work is complete.
Edges near grass, curbing, drains, walls, and landscaping deserve attention too. Buildup or remaining coating often collects in these locations, and incomplete preparation can create a visible border around an otherwise improved surface.
Moisture and weather can change the schedule
Florida humidity, afternoon rain, irrigation, and shaded areas can slow drying. Color and sealer work should be scheduled around the actual surface condition and forecast, not only the calendar.
Sprinklers that reach the pavers should be identified before work begins. Low areas, drainage paths, roof runoff, and air-conditioner discharge should also be noted. A surface that repeatedly becomes wet may require more planning, and color correction does not fix drainage.
What homeowners should ask about paver color restoration
- Are the pavers truly faded, or are stains and buildup changing the appearance?
- Is old sealer still present, and is it stable?
- Do repairs or replacement pavers have a different texture or porosity?
- Will a representative test area be completed first?
- How will the joints, borders, and drainage areas be prepared?
- What color direction works with the existing paver palette?
- How could sunlight, shade, and moisture affect appearance?
- What maintenance is appropriate after the project?
Color tinting is not a substitute for surface correction
If pavers are loose, damaged, heavily coated, contaminated, or affected by recurring drainage, those conditions should be addressed before appearance becomes the priority. Tinting cannot stabilize failed joints, repair cracked pavers, or correct a weak underlying coating.
A sound project sequence starts with inspection, cleaning, necessary correction, and drying. Color decisions come after the contractor can see the actual surface and understand how it responds.
Maintaining color-restored pavers
Color-restored pavers still need routine care. Sweep away leaves and debris, address irrigation deposits, and use cleaning methods appropriate for the completed system. Avoid assuming that every strong chemical or high-pressure setting is safe.
Traffic lanes, drainage paths, sunny areas, and shaded sections may continue to age differently. Periodic inspection can identify wear before the surface becomes severely uneven again.
Considering paver color restoration in the True Seal service area?
True Seal Paver Sealing can inspect the pavers, old coatings, joints, stains, and moisture conditions before discussing color-restoration options. For a recommendation based on your property, request a free estimate from True Seal Paver Sealing.
For more project help, compare True Seal paver sealing, paver stripping, travertine sealing, and concrete sealing.